Crafting Elegant Wall Art from Scrap Fabric
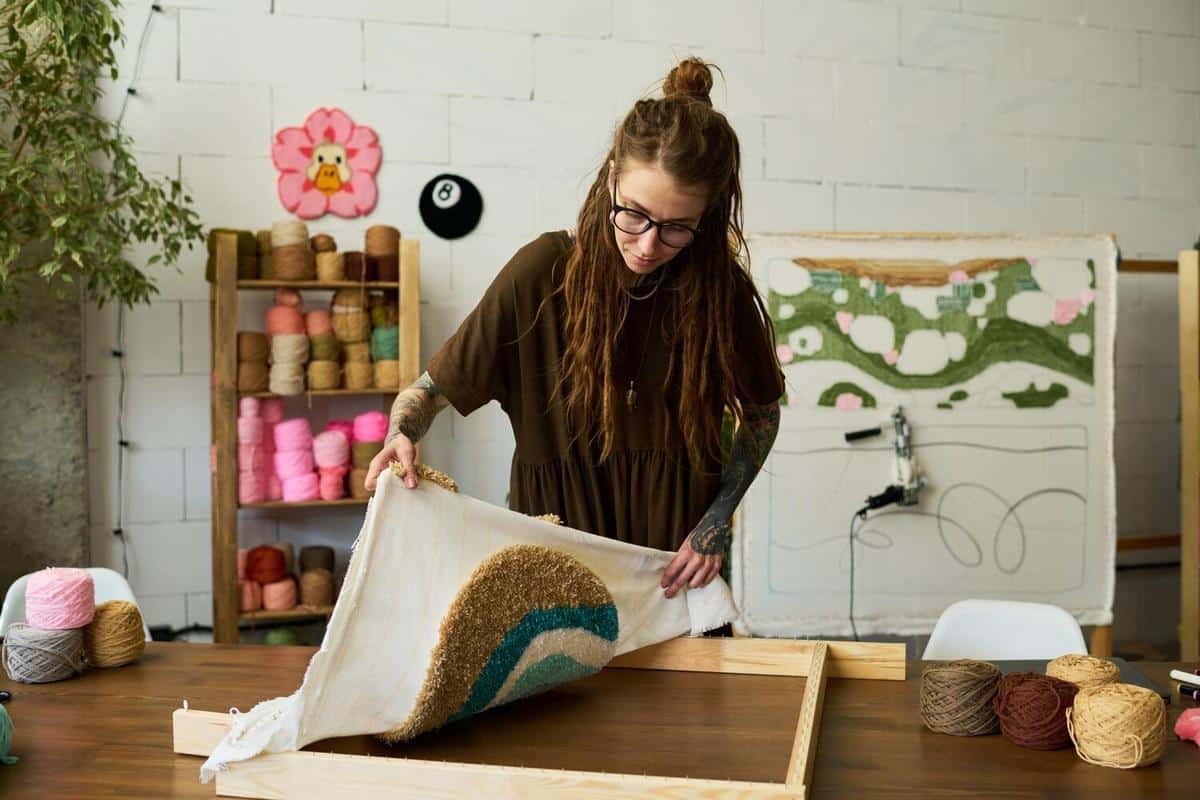
Decorating your home with unique and personal touches doesn’t have to be expensive or environmentally taxing. Crafting elegant wall art from scrap fabric is a creative and sustainable way to embellish your living space while reducing waste.
Explore the fascinating world of upcycled home decor with the art of transforming leftover fabric into beautiful wall art. This project not only taps into your creative side but also supports sustainable living. According to a report by the Environmental Protection Agency, textiles account for approximately 5% of landfill waste, making it crucial to find innovative ways to repurpose these materials.
Why Choose Scrap Fabric for Wall Art?
Scrap fabric offers a versatile medium for crafting. It’s accessible, often free, and provides an opportunity to create something truly unique. Renowned textile artist Katrina Rodabaugh suggests, “Using scrap fabric in art allows for a connection to personal history and the broader story of sustainability.” Moreover, the diversity in textures and colors available in scrap fabric can bring depth and character to any piece.
Getting Started: Materials and Tools
- Scrap fabric: Gather remnants from past sewing projects, old clothes, or thrift store finds.
- Canvas or wooden board: These serve as the base for your artwork.
- Fabric glue or a hot glue gun: Essential for securing fabric pieces.
- Scissors: For cutting fabric to desired shapes and sizes.
- Embellishments: Consider buttons, beads, or sequins for added flair.
Step-by-Step Guide to Crafting Your Art
- Design Your Layout: Start by sketching your concept on paper. Consider the theme you want to convey and the colors that will complement your space.
- Prepare Your Canvas: Apply a base layer of fabric to your canvas using fabric glue. This layer can be a solid color or a patchwork of different pieces.
- Layer and Arrange: Begin layering your fabric pieces according to your design. Play with different textures and colors for a dynamic effect.
- Secure the Pieces: Use glue to affix each piece, ensuring they lay flat and are securely attached.
- Add Embellishments: Once the fabric is secured, add any embellishments to enhance your design.
- Finish and Display: Allow your piece to dry completely before hanging it on the wall.
Comparison Table: Fabric Types
| Fabric Type | Texture | Best Used For |
|---|---|---|
| Cotton | Soft, breathable | Base layers |
| Denim | Thick, durable | Highlights and borders |
| Silk | Smooth, shiny | Accent pieces |
| Wool | Warm, textured | Textured backgrounds |
| Linen | Light, crisp | Neutral bases |
| Lace | Delicate, intricate | Overlays and detailing |
| Velvet | Soft, plush | Rich accents |
| Burlap | Rough, earthy | Rustic themes |
FAQ
How do I clean fabric wall art?
Use a soft brush or vacuum with a brush attachment to gently remove dust. Avoid direct sunlight to prevent fading.
Can I use fabric scraps of any size?
Yes, both small and large pieces can be creatively incorporated into your design.
What if the fabric edges fray?
Embrace the frayed look for a rustic charm or use fray check to seal edges.
Conclusion
Crafting wall art from scrap fabric is an engaging and eco-friendly way to personalize your home. By following these steps and embracing your creativity, you can create pieces that not only beautify your space but also contribute to a more sustainable world. Dive into your fabric stash today and start crafting your masterpiece!


